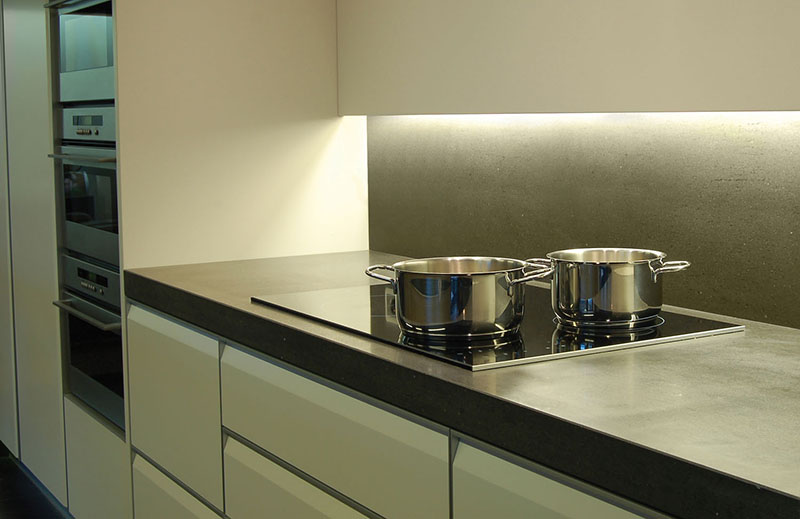
Adding lighting under the cabinets effectively brightens your cabinets, especially the dark corners or edges. It helps to illuminate the countertop workspace, making it easier to see while preparing food or cooking. We recommend using Flexible LED Strips as the light source, which can provide enough brightness and long linear […]
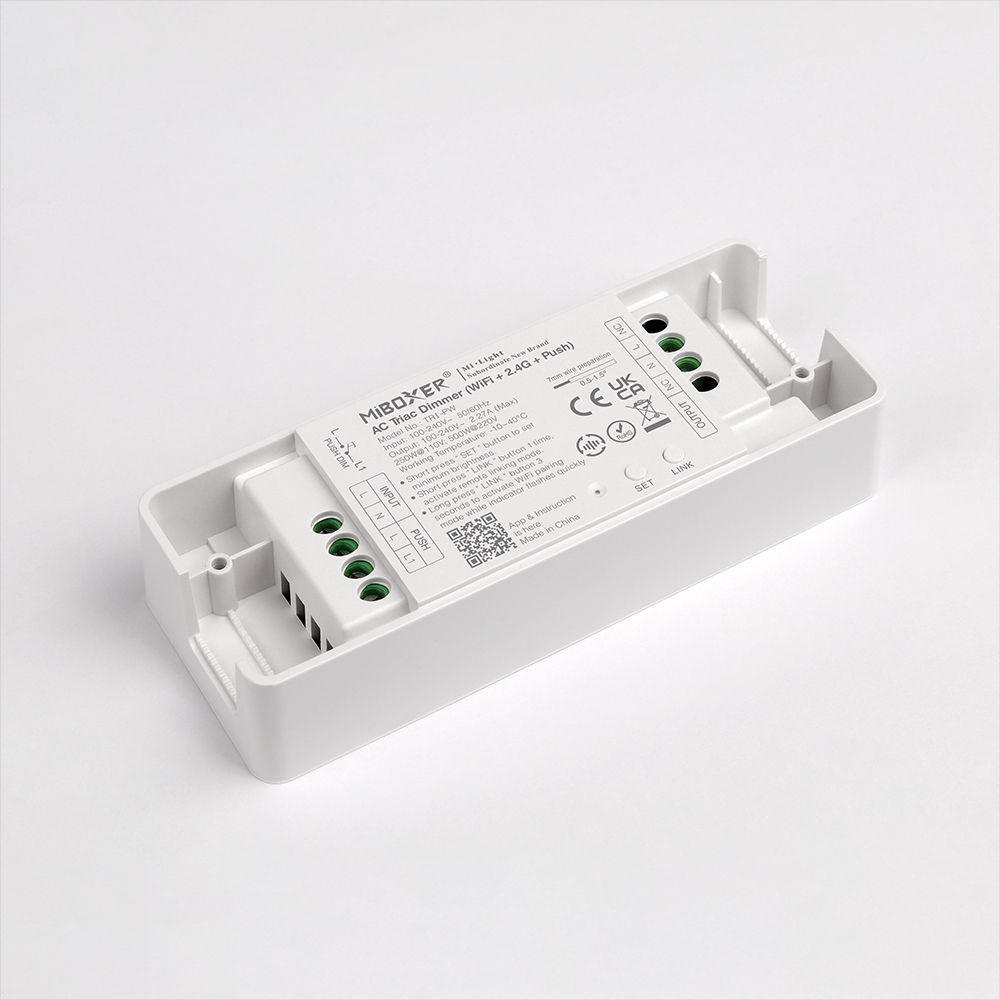
Newest 500W AC Triac Dimmers In Stock
The MiBoxer newest 500W AC Triac Dimmers are in stock, which can be used to control traditional incandescent lamps, halogen lamps, and triac dimmable LED Lamps. It supports setting up minimum brightness and adjusting the brightness for various scenes. Three versions are available: 2.4G, Zigbee 3.0 + 2.4G, and WiFi […]
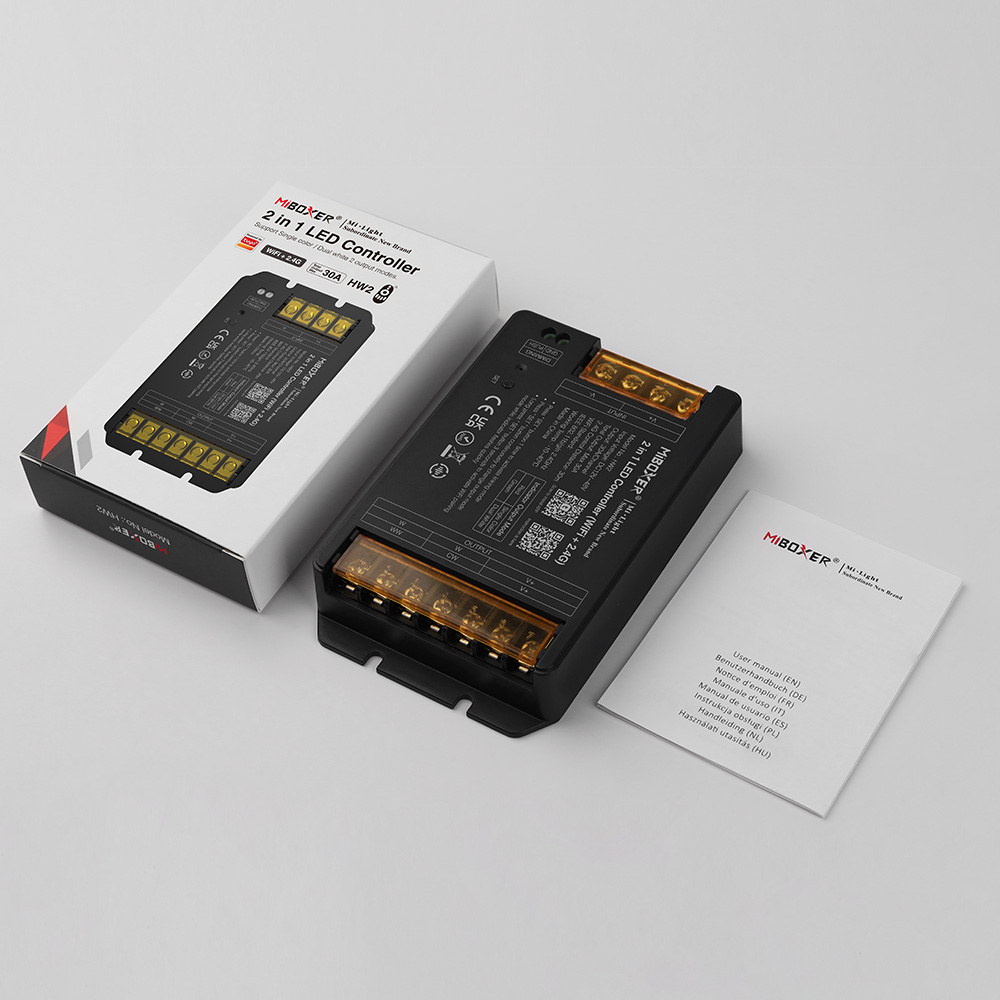
The New 30A Large Output Current Controllers Arrived
The newest MiBoxer 30A Light Controllers are available on Ledbe now. Those with a max 30A output current design can load more LED Lights than similar products. There are 2.4G series and 2.4G+WiFi series Controllers available. The 2.4G series includes HR2(2 in 1) and HR5(5 in 1). The 2.4G + […]
How To Make Your LED Strips Waterproofing?
Some customers ask us the question: How do we make the LED Strips waterproofing? It’s a good question because there are high-quantity demands for the Waterproof LED Strip Lights. You need waterproofing when you want to add LED Strips in your bathrooms, gardens, yards, and other places. Let’s teach you […]
The Correct Way To Hang LED Strips On Walls
LED strips are a popular way to add ambient lighting to any room. Whether you want to create a relaxing atmosphere or enhance the aesthetics of your space, hanging LED strips on walls can be a great solution. But how to hang LED Strip Lights without damaging the wall? Today, […]
Great For DIY-Super Narrow Addressable LED Strips Available
The super narrow Addressable LED Strips are available on ledbe.com. The width is only 2.7mm, and they are flexible and bendable. You can install them in tight spaces for DIY projects on toys, models, dresses, cars, etc. 160 pieces of LEDs are mounted on each meter of the PCB board, […]
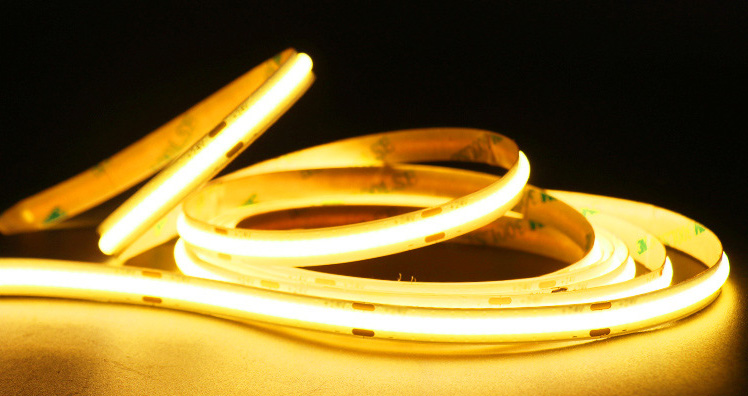
Know the difference between White Colors Of LED Strips
White LED strips are a type of lighting product that utilizes white light-emitting diodes (LEDs) to produce illumination. These flexible strips can be easily installed in various settings to create ambient lighting or highlight specific areas. The LEDs used in white LED strips emit a bright and crisp white light, […]
Colorful LED Channels Color Your Rooms
You have a variety of options when it comes to choosing LED channel colors. LED channels are available in various colors, allowing you to select the perfect shade to suit your needs. Whether you prefer vibrant and bold colors or more subtle and calming tones, there is a color option […]
Toe Kick Lighting-A Great Option In Your Kitchen
To enhance the ambiance of your room, consider adding toe kick lighting. This type of lighting is installed at the base of your furniture, such as cabinets or beds, and provides a subtle glow that adds a touch of elegance to your space. With toe kick lighting, you can create […]
[New Arrival]-MiBoxer B5 Panel Control
Glad to let you know the MiBoxer B5 Panel Remote for single-color LED Lights in stock on Ledbe. They can work with LED Dimmers to adjust the brightness for various scenes, with four independent zones and four scene designs. The MiBoxer B5 is a remote control with a brightness adjustable […]