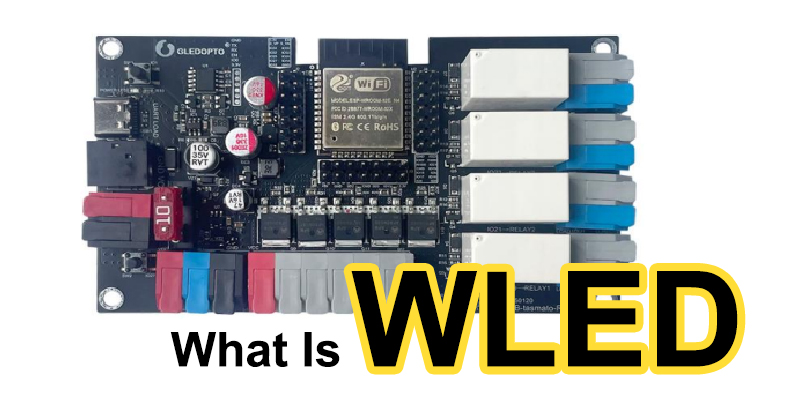
WLED Controller: The Ultimate Guide to Open-Source LED Magic More and more threads mention WLED controllers, and they discuss them on Reddit, forums, and social media. I guess you want to know what they are, the benefits you will get, and where you can use them. Have you ever gazed […]
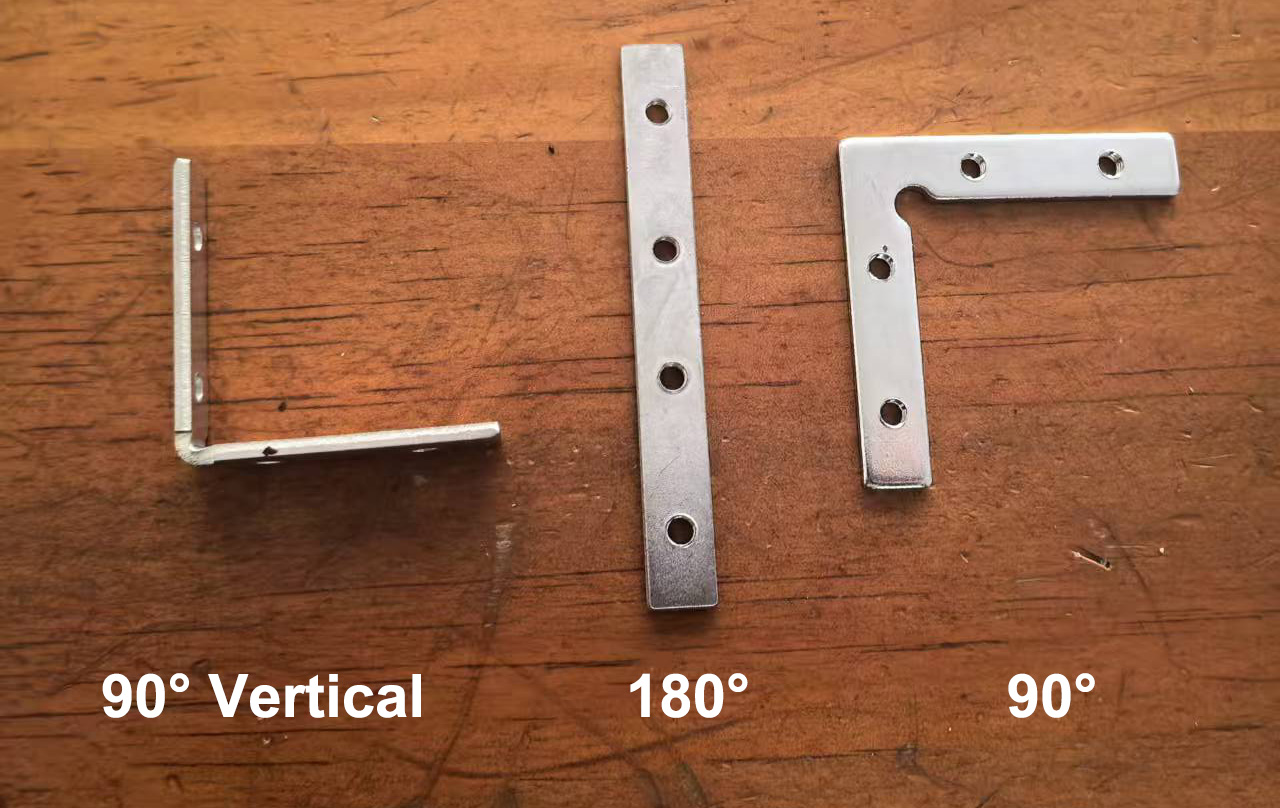
How To Install The LED Channel Joiners?
For most aluminum LED channels, the standard length is 2 meters per piece, with a maximum of 6 meters. But for longer projects or corner installations, it will be a problem. Then we will need the LED channel joiners for longer runs or angled connections. There are three types of […]
How to Attach Adhesive Tape to Silicone Tube LED Strips?
It’s easy to find waterproof LED strips for wet environments or outdoor applications, which are typically IP67 waterproof silicone tube ones. They come with silicone clips and can be mounted on walls or ceilings with screws. However, this is not very convenient, so why not add double-sided adhesive to the […]
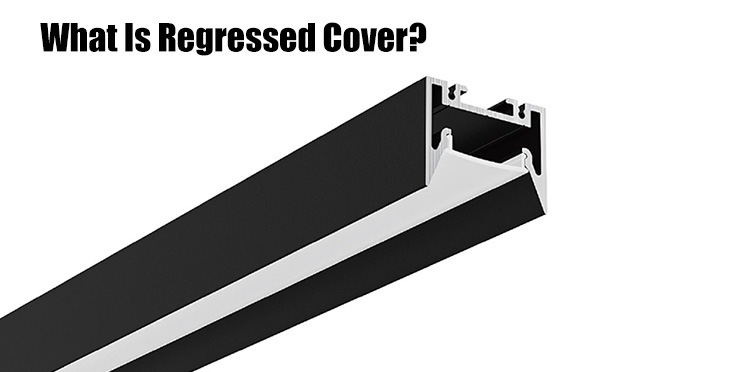
What is Regressed Cover?And What Is Useful For Lighting?
In the interior lighting design, the small change or improvement can make a huge difference in aesthetics and functionality. Today we will share with you the newest LED light channels with regressed cover design for the designers seeking clean, glare-free illumination with a premium finish. But what exactly is regressed […]
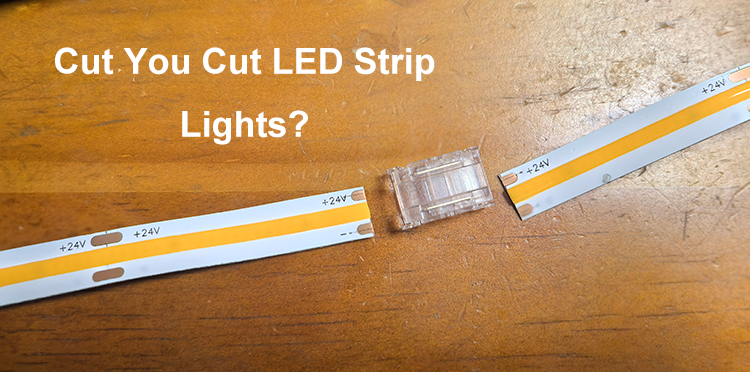
Can You Cut LED Strip Lights?
Can you cut LED strip lights? Can we cut LED strip lights? Both questions are among the most frequently asked by our customers. Yes, most of them can be cut to your desired length, but you need to cut them from the cut points marked on the LED strips. If […]
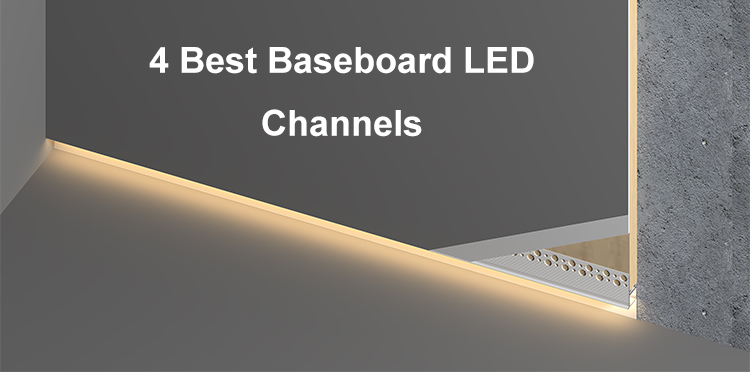
4 Best Aluminum Channels For Baseboard Lighting
What is Baseboard? The baseboards are the metal or wooden pieces that allow you to install them along the bottom of the walls. You can use them to enhance the aesthetics of your place but also prevent water to the drywall. The main material is wood, MDF, or PVC. They […]
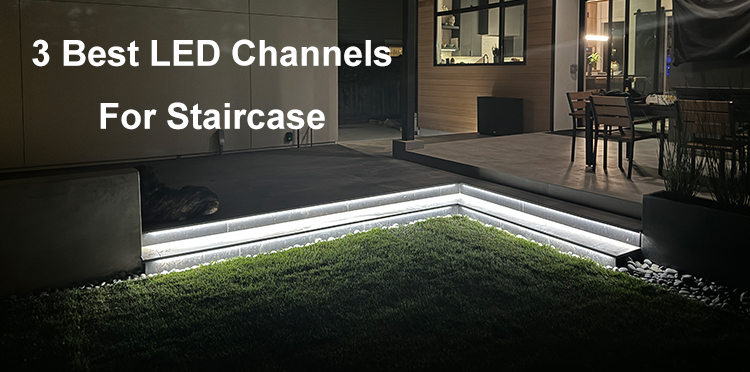
3 Best Aluminum LED Channels For Staircase Lighting
Add lighting to your staircase not only enhances safety but also gives your home a modern and finished look. It’s not easy to light up the whole staircase with traditional lights, considering the staircase is inclined and long. But with our LED light channels for staircase and high-density COB strip […]
5 Tiny COB LED Strips That Deliver Maximum Light in Minimal Space
When you try to add lighting to the limited space in the toys, models, cars, trucks, shelves, etc. You will find the traditional LED strip lights will be difficult to do. Because it is impossible to fit a regular size light strip into a small space. But today we will […]
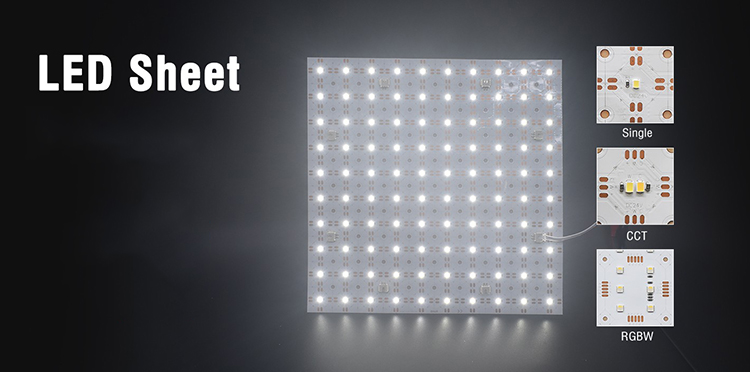
Everything You Need to Know About LED Sheet Lights
When you try to search LED strips on the internet, you will see the ADs of sheet lights, which are similar to LED tapes but not the same.They are new products that not all people know. But they are hot sales and are welcomed by more and more users. So […]
How To Correctly Connect Addressable Light Strips Into A Long Line?
Addressable LED strips are always the best option for creating colorful and dynamic lighting for residential or business spaces. They allow individual control of a single LED, enabling users to create dynamic lighting effects, patterns, and animations for holidays or decorations. Recently, one of our customers talked to us about […]